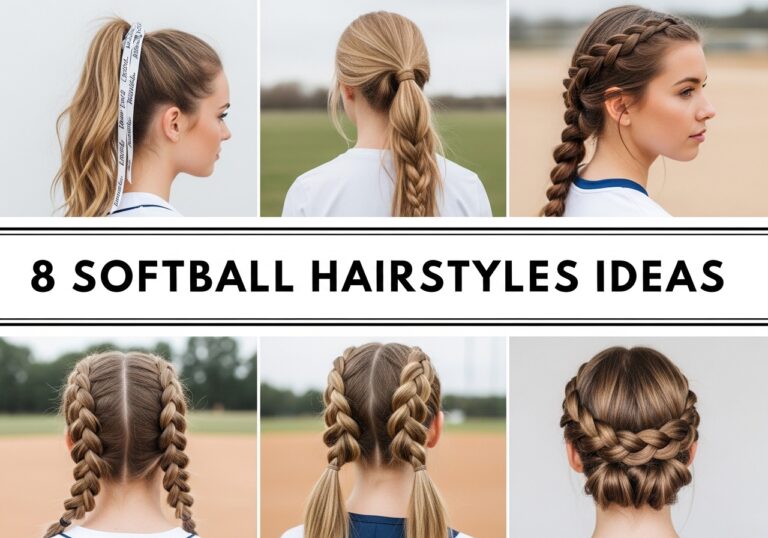
8 Low Tension Natural Hairstyle Ideas

Low tension natural hairstyles are styles designed to protect the hair and scalp by avoiding tight pulling, heavy strain, and too much stress around the edges. They usually focus on soft shaping, gentle sectioning, and comfortable hold, which makes them a great choice for anyone trying to reduce breakage or give their hairline a break.
These styles work especially well for natural textures because they let you wear your curls, coils, and kinks in a way that feels stylish without forcing the hair into overly tight patterns. They are ideal for people with sensitive scalps, thinning edges, postpartum regrowth, or anyone who simply wants more comfortable everyday styling.
Most low tension natural hairstyles are fairly practical and can be worn for work, errands, weekends, and special events depending on how polished or soft you want the finish to look. Styling needs are usually low to medium. Good moisture, gentle detangling, and soft accessories matter more than heavy pulling or tight elastics.
Quick List
- Soft Puff with Laid-Free Edges Hairstyle
- Loose Two-Strand Twist Crown Hairstyle
- Low Tension Wash-and-Go Hairstyle
- Pineapple Updo with Soft Scarf Hairstyle
- Chunky Flat Twist Back Hairstyle
- Loose Halo Braid Natural Hairstyle
- Low Puff with Side Part Hairstyle
- Mini Twists with Free Ends Hairstyle
Soft Puff with Laid-Free Edges Hairstyle

This hairstyle keeps the hair gathered into a soft puff without pulling the hairline too hard. The beauty of this look is that it lets your natural texture stay full and visible while giving you an easy shape that feels neat but still comfortable.
It works especially well for daily wear, quick mornings, errands, and casual office days. Compared with tighter puffs, this one feels gentler because the edges are left soft instead of heavily brushed down or forced into place.
Pro tip: Ask your stylist to show you how to place the band loosely enough to shape the puff without putting stress on your edges or crown.
How To Style
- Start with clean, moisturized hair or lightly refreshed second- or third-day hair.
- Apply a leave-in conditioner or light cream to keep the hair soft and workable.
- Use your fingers or a wide-tooth comb to gently gather the hair upward or slightly back.
- Place a soft stretchy band, puff cuff, or loose satin scrunchie around the hair without tightening it too much.
- Fluff the puff gently with your fingers to create an even rounded shape.
- Leave the edges natural or smooth them lightly with water and a tiny bit of cream if needed.
- Finish with a light oil or shine mist on the puff if you want extra softness.
Best For
- Face shapes: Oval, round, heart
- Hair types: Coily, curly, kinky; fine to thick density
Tools & Products
- Wide-tooth comb
- Spray bottle with water
- Leave-in conditioner
- Light curl cream
- Soft puff band or puff cuff
- Satin scrunchie
- Lightweight oil or shine mist
Styling Time & Difficulty
Approx. styling time: 5–10 minutes
Difficulty: Easy
Where This Hairstyle Works Best
This hairstyle works best for everyday wear, school, errands, casual workdays, and relaxed weekend styling when you want comfort and quick shaping.
Maintenance Tips
- Do not tighten the puff band throughout the day if the style starts to drop slightly.
- Refresh the puff with a light water mist instead of brushing it hard.
- Sleep with a satin bonnet or scarf to preserve moisture.
- Rotate puff placement so the same area is not under repeated tension.
- Avoid heavy edge control if your goal is maximum comfort.
Loose Two-Strand Twist Crown Hairstyle

This style uses soft two-strand twists shaped around the crown or upper head area without pulling the roots too tightly. It gives you a pretty, organized look while still protecting the scalp and allowing your natural hair to stay comfortable.
It is a lovely option for work, dinners, church, or day-to-night styling. What makes it different is the balanced mix of structure and gentleness. It looks styled and intentional, but it does not need the tight grip that some braided looks rely on.
Pro tip: Ask your stylist to keep the base of each twist soft and slightly padded rather than tight and flat against the scalp.
How To Style
- Start with damp or lightly stretched moisturized hair.
- Apply leave-in conditioner, then smooth a twisting cream or butter through each section.
- Make medium sections around the crown using your fingers or a wide-tooth comb.
- Two-strand twist each section gently, keeping the roots comfortable and not overly tight.
- Pin or wrap the twists around the crown shape if desired.
- Leave the ends tucked softly or let some natural texture show depending on the look.
- Finish with a light oil on the twists for softness and shine.
Best For
- Face shapes: Oval, heart, square
- Hair types: Coily, kinky, curly; medium to thick density
Tools & Products
- Wide-tooth comb
- Sectioning clips
- Spray bottle
- Leave-in conditioner
- Twisting cream or butter
- Bobby pins
- Lightweight oil
Styling Time & Difficulty
Approx. styling time: 15–25 minutes
Difficulty: Medium
Where This Hairstyle Works Best
This hairstyle works best for work settings, dinners, family events, church, and polished everyday styling with a protective feel.
Maintenance Tips
- Moisturize the twists lightly every few days to keep them soft.
- Do not redo the twists too tightly when refreshing the front.
- Sleep with a satin bonnet or scarf to reduce frizz.
- If one area feels sore, loosen that twist right away.
- Avoid overloading the twists with heavy product buildup.
Low Tension Wash-and-Go Hairstyle

A wash-and-go is one of the easiest ways to wear natural hair without added tension, especially when the focus is on moisture, curl definition, and gentle shaping instead of tight styling. This version keeps the curls free, soft, and natural-looking with minimal manipulation.
It works beautifully for everyday wear, warm weather, casual events, and anyone who wants to let their curl pattern shine. Compared with gathered or pinned styles, this one gives the scalp the biggest break because nothing is being pulled into place.
Pro tip: Ask your stylist for a shaping cut that supports your curls so the wash-and-go falls well without needing tight styling tricks.
How To Style
- Start with freshly washed, conditioned hair while it is still damp.
- Apply leave-in conditioner section by section.
- Layer a curl cream or gel over the leave-in using praying hands or finger smoothing.
- Use your fingers to separate larger clumps only where needed.
- Let the hair air-dry or diffuse gently after applying heat protectant if using a dryer.
- Fluff the roots lightly once fully dry for shape and volume.
- Finish with a tiny amount of oil if the ends need softness.
Best For
- Face shapes: Oval, round, heart
- Hair types: Curly to coily, fine to thick density
Tools & Products
- Wide-tooth comb
- Leave-in conditioner
- Curl cream
- Defining gel
- Diffuser
- Heat protectant
- Lightweight oil
Styling Time & Difficulty
Approx. styling time: 15–20 minutes active styling, then drying time
Difficulty: Easy to Medium
Where This Hairstyle Works Best
This hairstyle works best for everyday wear, warm climates, casual outings, vacations, and natural hair routines focused on minimal tension.
Maintenance Tips
- Sleep in a satin bonnet or on a satin pillowcase to reduce friction.
- Refresh curls with water and a little leave-in instead of re-styling fully.
- Avoid over-separating the curls, which can increase frizz.
- Trim regularly so the shape stays balanced and easy to wear.
- Deep condition often to keep the curls soft and defined.
Pineapple Updo with Soft Scarf Hairstyle

This hairstyle lifts the curls upward loosely and finishes them with a soft scarf or satin wrap for comfort and style. It gives you the height and shape of an updo without the tight pulling that often comes with high buns or firm ponytails.
It is perfect for second- or third-day curls, quick errands, travel days, and casual styling with personality. What makes it stand out is the scarf detail, which helps hold the style while reducing the need for tight elastics.
Pro tip: Ask your stylist to show you how to position the pineapple high enough for shape but loose enough to avoid pressure on the edges.
How To Style
- Start with dry or refreshed curls that still have some definition.
- Mist lightly with water or a curl refresher spray if needed.
- Gather the hair loosely toward the top of the head using your hands.
- Secure it softly with a satin scrunchie or loose band.
- Tie a satin or soft cotton scarf around the base or front for style and support.
- Fluff the curls upward so they fall naturally and do not feel compressed.
- Finish with a little oil on dry areas if needed.
Best For
- Face shapes: Round, oval, heart
- Hair types: Curly, coily, kinky; medium to thick density
Tools & Products
- Spray bottle
- Curl refresher spray
- Satin scrunchie
- Soft scarf
- Leave-in conditioner
- Lightweight oil
- Fingers for fluffing
Styling Time & Difficulty
Approx. styling time: 5–10 minutes
Difficulty: Easy
Where This Hairstyle Works Best
This hairstyle works best for casual days, travel, errands, brunch, and quick curl refresh styling when comfort matters most.
Maintenance Tips
- Keep the scrunchie loose enough that it does not leave a deep dent.
- Change scarf placement sometimes to avoid repeated friction in one area.
- Re-moisturize the ends if they dry out faster in an updo.
- Sleep in a satin bonnet if you want to preserve the curls underneath.
- Avoid wrapping the scarf too tightly around the edges.
Chunky Flat Twist Back Hairstyle
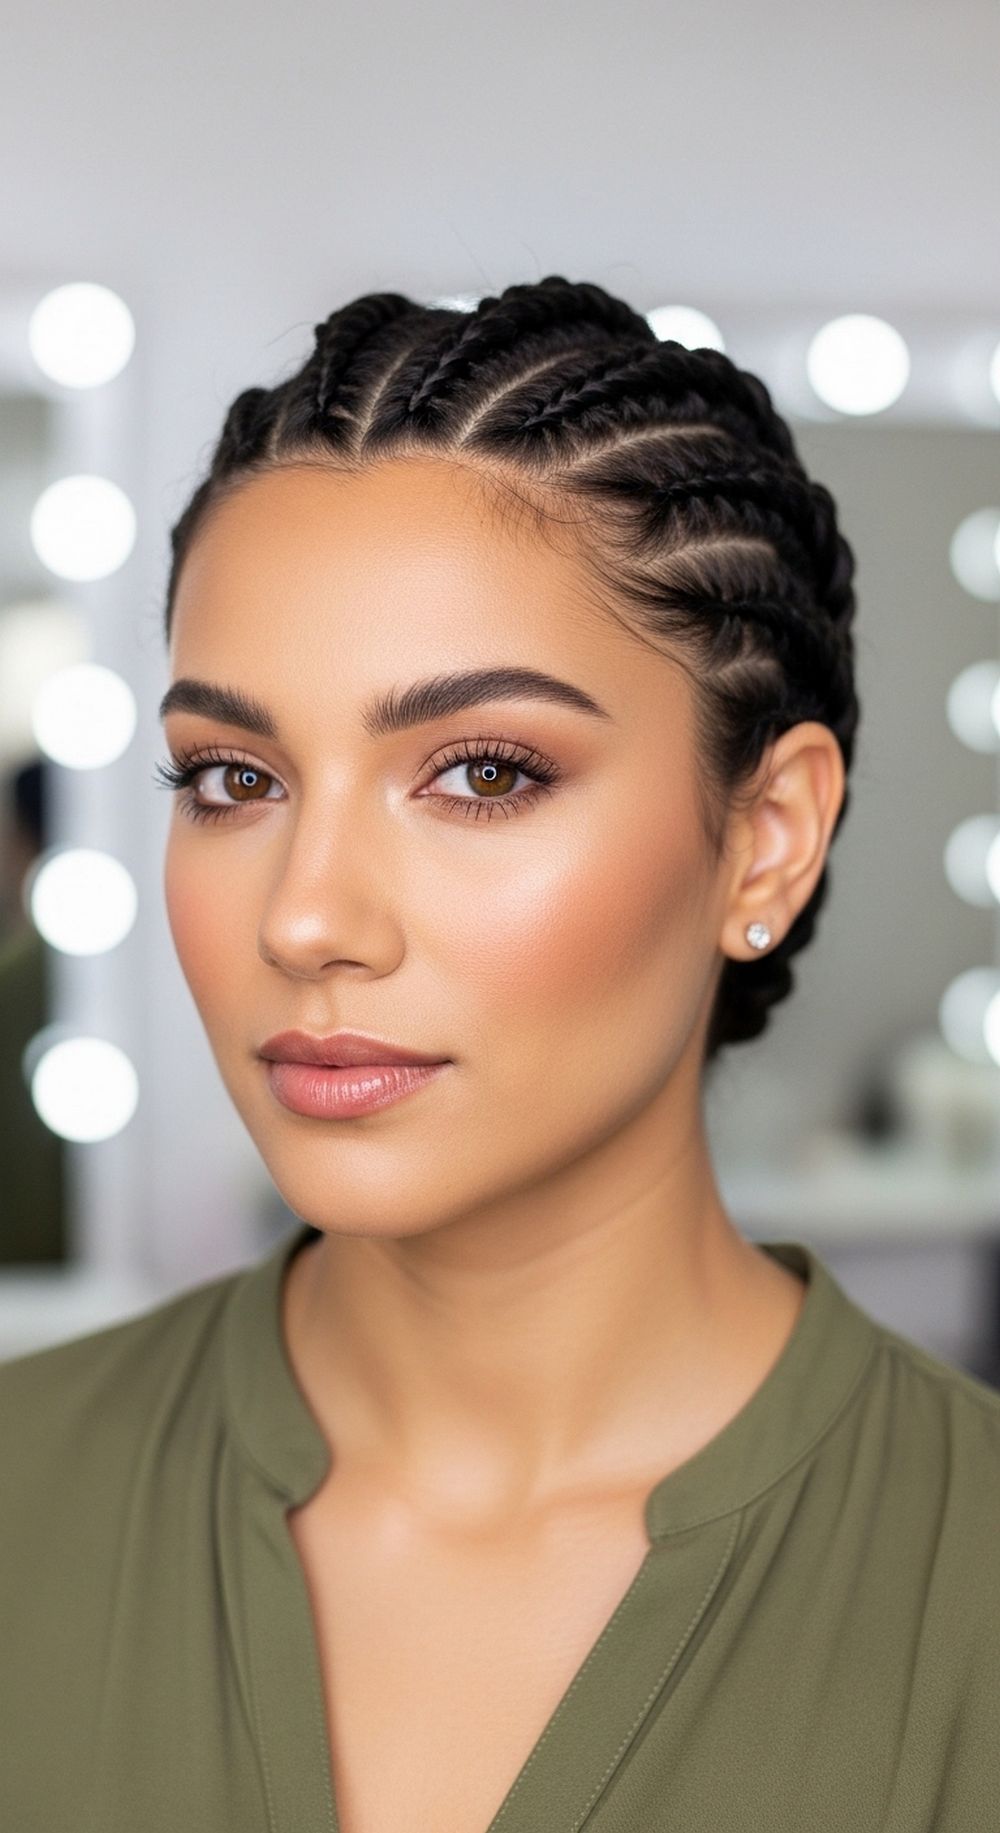
This hairstyle uses larger flat twists directed gently backward, which helps create a neat protective shape without the tightness that often comes with smaller, firmer braided styles. The chunky sections keep the look softer and quicker to do.
It works well for work, active days, family events, and protective styling weeks. Compared with tighter cornrow-style looks, this one feels more forgiving on the scalp and usually takes less tension to stay neat.
Pro tip: Ask your stylist to use bigger sections and soft hand tension so the twists stay secure without feeling tight across the scalp.
How To Style
- Start with damp, detangled hair and section it into several larger rows.
- Apply leave-in conditioner and a twisting cream to each section.
- Flat twist each section gently toward the back, using soft consistent tension.
- Secure the ends with small bands, tuck them, or pin them into a low shape.
- Smooth the parts lightly with fingers rather than over-combing.
- Check the hairline and loosen any section that feels too snug.
- Finish with a light oil or scalp serum if desired.
Best For
- Face shapes: Oval, square, round
- Hair types: Coily, kinky, curly; medium to thick density
Tools & Products
- Wide-tooth comb
- Sectioning clips
- Leave-in conditioner
- Twisting cream
- Small bands or bobby pins
- Scalp serum
- Lightweight oil
Styling Time & Difficulty
Approx. styling time: 20–30 minutes
Difficulty: Medium
Where This Hairstyle Works Best
This hairstyle works best for protective everyday wear, workweeks, active schedules, and low-manipulation routines.
Maintenance Tips
- Wrap the style at night with a satin scarf to keep the twists smooth.
- Oil the scalp lightly if it feels dry, but do not overload the roots.
- Redo only the loosest front sections instead of redoing the full style.
- Remove the twists gently when it is time to take them down.
- Never ignore soreness at the roots after styling.
Loose Halo Braid Natural Hairstyle

This hairstyle wraps the hair around the head in a halo-inspired shape, but with a softer and gentler finish than a tight braided crown. It looks elegant and protective while still giving the scalp breathing room.
It is a great choice for weddings, dinners, church, photos, and special occasions when you want a natural style that feels graceful. What makes it different is the romantic shape paired with low tension styling that avoids harsh pulling around the perimeter.
Pro tip: Ask your stylist for a padded, softly wrapped halo effect instead of a super-tight crown braid if comfort is your priority.
How To Style
- Start with stretched or lightly blown-out natural hair if you want easier wrapping.
- Apply heat protectant before stretching with low heat if needed.
- Moisturize the hair with leave-in conditioner and a light cream.
- Create a loose braid or twist that can be wrapped around the head.
- Pin the braid gently into a halo shape without pulling hard at the temples.
- Adjust the front so the style looks soft and balanced.
- Finish with a light oil or sheen spray.
Best For
- Face shapes: Heart, oval, long
- Hair types: Coily, kinky, curly; medium to thick density
Tools & Products
- Blow-dryer with low heat option
- Heat protectant
- Leave-in conditioner
- Light styling cream
- Bobby pins
- Soft bristle brush
- Sheen spray or lightweight oil
Styling Time & Difficulty
Approx. styling time: 20–30 minutes
Difficulty: Medium
Where This Hairstyle Works Best
This hairstyle works best for special events, church, formal dinners, weddings, and elegant protective styling with a gentle finish.
Maintenance Tips
- Pin the halo securely but do not force the braid too tightly around the head.
- Cover with a satin scarf at night to reduce frizz.
- Moisturize the ends before tucking them away.
- Loosen and reset any pin that causes discomfort.
- Take the style down before it becomes too dry or tangled.
Low Puff with Side Part Hairstyle
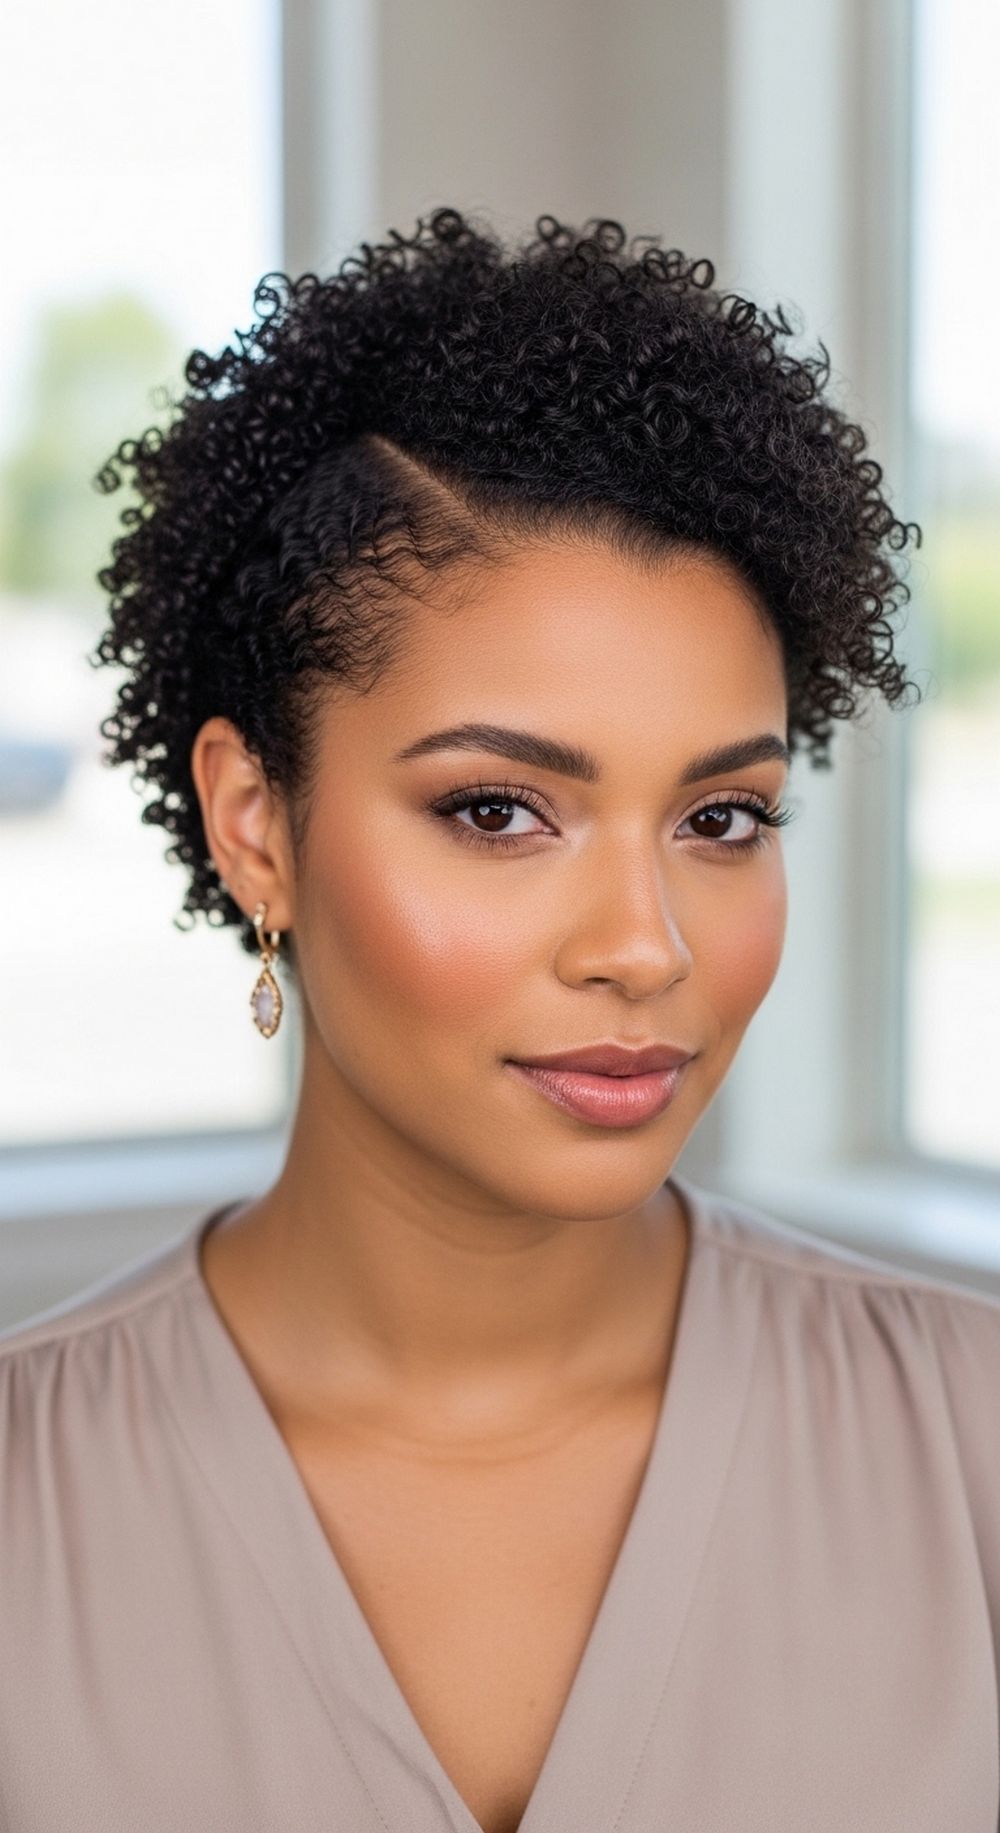
This low puff gives you a softer silhouette than a high puff and often feels even more comfortable for sensitive edges. The side part adds shape and makes the style look intentional without needing much effort.
It works beautifully for workdays, errands, lunch dates, and simple polished daily wear. Compared with the top puff, this version feels calmer and gentler because the gathering point sits lower and usually puts less strain on the front hairline.
Pro tip: Ask your stylist to keep the side part clean but the gathering loose so the style stays flattering without becoming tight.
How To Style
- Start with moisturized hair and create a soft side part.
- Apply leave-in conditioner or a little cream to the surface for softness.
- Gather the hair loosely toward the lower back of the head.
- Secure it with a satin scrunchie, puff cuff, or soft elastic.
- Fluff the puff so the curls or coils sit evenly.
- Smooth only lightly around the part and front if needed.
- Finish with a drop of oil on the ends or surface.
Best For
- Face shapes: Round, oval, square
- Hair types: Curly, coily, kinky; fine to thick density
Tools & Products
- Tail comb
- Wide-tooth comb
- Leave-in conditioner
- Light styling cream
- Satin scrunchie or puff cuff
- Lightweight oil
- Spray bottle
Styling Time & Difficulty
Approx. styling time: 5–10 minutes
Difficulty: Easy
Where This Hairstyle Works Best
This hairstyle works best for daily wear, office settings, school, errands, and simple protective styling with a polished touch.
Maintenance Tips
- Shift the puff slightly from time to time to avoid repeated stress in one spot.
- Refresh the part with fingers instead of over-combing.
- Keep the puff moisturized so the ends do not dry out.
- Sleep with a satin bonnet or scarf to reduce friction.
- Avoid tightening the scrunchie more than necessary.
Mini Twists with Free Ends Hairstyle
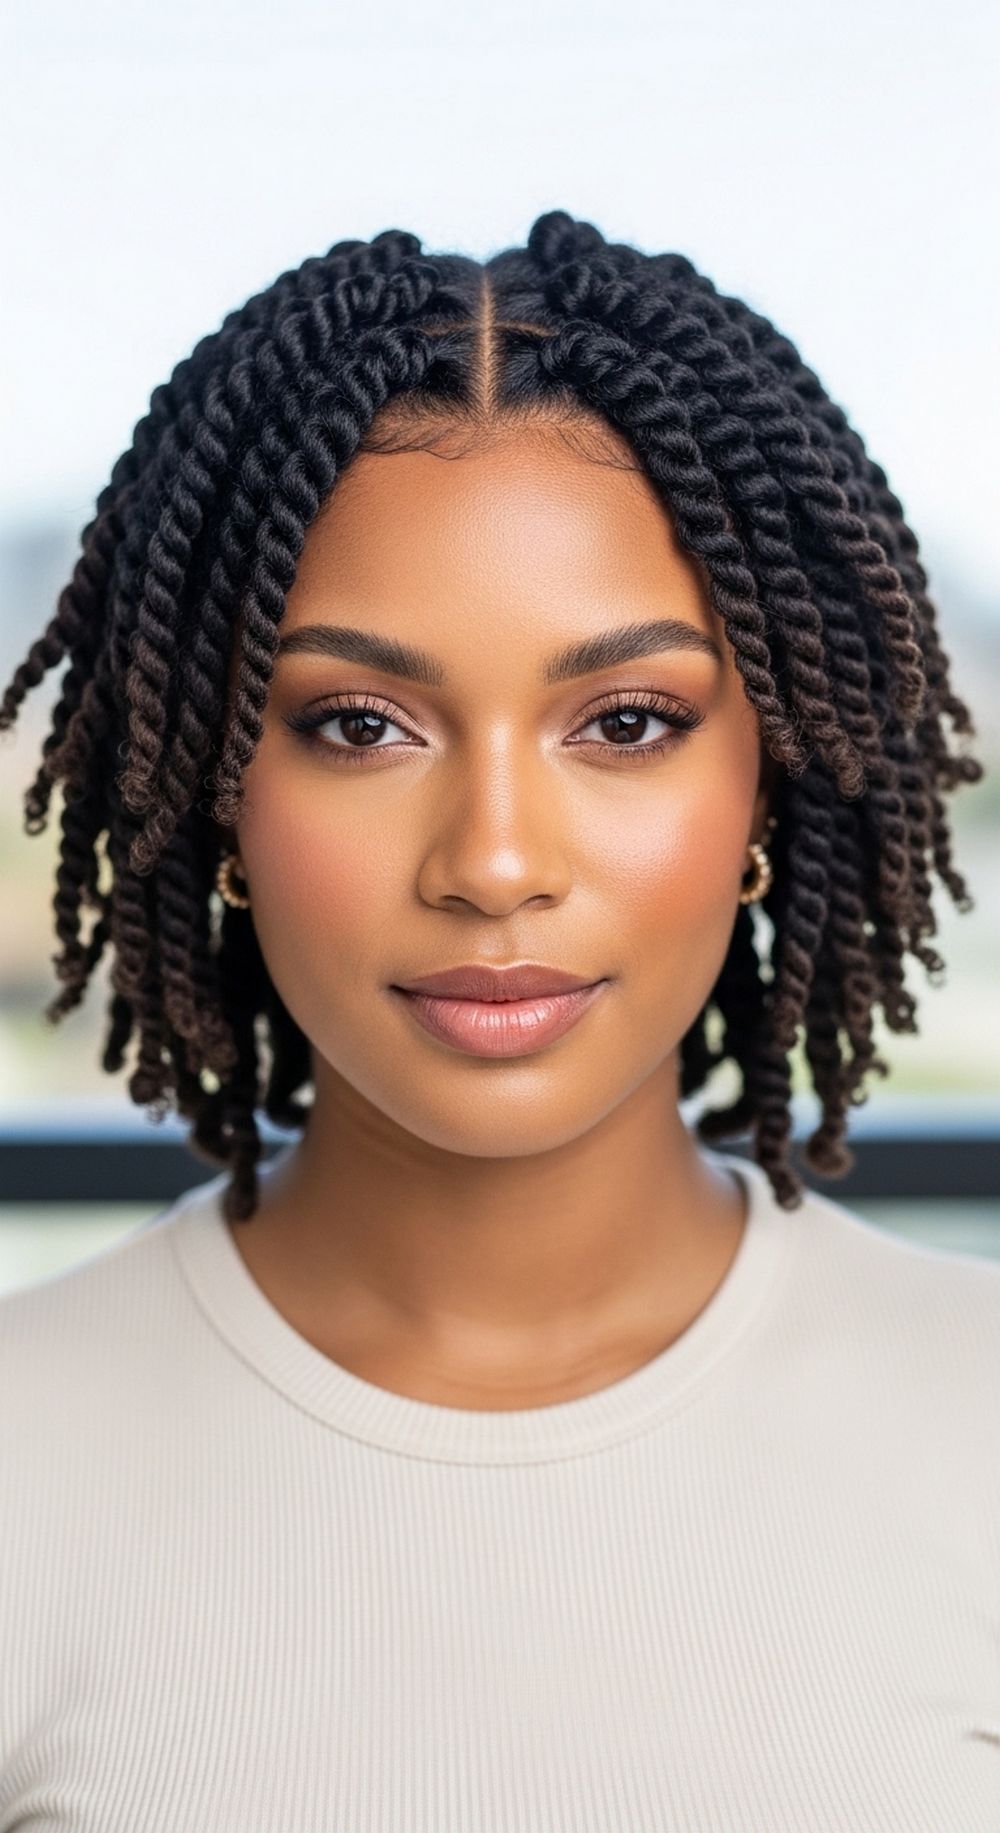
Mini twists are a favorite low tension natural style because they keep the hair stretched, organized, and protected without requiring tight braiding at the scalp. This version leaves the ends free or softly coiled, which gives the style a softer finish and a little extra movement.
It is ideal for protective styling weeks, travel, everyday wear, and low-manipulation routines. What makes it different is the flexibility. You can wear the twists down, pin them up loosely, or gather them gently later without restyling everything.
Pro tip: Ask your stylist to keep the parting comfortable and the twists uniform but not overly tight at the roots, especially around the edges.
How To Style
- Start with clean, detangled, moisturized hair.
- Section the hair into small to medium parts using clips to stay organized.
- Apply leave-in conditioner and twisting butter or cream to each section.
- Two-strand twist each section from root to near the ends with light tension.
- Leave the ends free, coil them with your finger, or add a little cream for definition.
- Continue until the whole head is complete and fluff lightly once dry.
- Finish with a lightweight oil on the twists and ends.
Best For
- Face shapes: Oval, heart, round
- Hair types: Coily, kinky, curly; fine to thick density
Tools & Products
- Rat-tail comb or wide-tooth comb
- Sectioning clips
- Leave-in conditioner
- Twisting cream or butter
- Lightweight oil
- Spray bottle
- Satin bonnet
Styling Time & Difficulty
Approx. styling time: 30+ minutes
Difficulty: Needs some practice
Where This Hairstyle Works Best
This hairstyle works best for protective styling periods, travel, everyday wear, workweeks, and low-manipulation hair routines.
Maintenance Tips
- Moisturize the twists lightly every few days, especially the ends.
- Sleep in a satin bonnet to reduce frizz and dryness.
- Separate gently if you want more fullness, but avoid too much handling.
- Redo only the perimeter twists if needed instead of the full head.
- Take the twists down carefully before they become overly matted.
Conclusion
Low tension natural hairstyles are such a smart choice because they help protect your hair while still giving you plenty of beautiful styling options. You do not have to choose between comfort and polish. With the right shaping, moisture, and soft accessories, natural hair can look styled and feel comfortable at the same time.
The best part is that these looks can be adjusted based on your curl pattern, density, scalp sensitivity, and routine. You might prefer a puff, twists, a wash-and-go, or a soft halo style depending on how much time you have and how long you want the style to last.
Small changes like using looser bands, bigger sections, softer parting, and less edge tension can make a huge difference over time. Working with a stylist who understands healthy natural hair practices can help you keep your styles protective, flattering, and easy to maintain.
CTA
Pick one or two low tension natural hairstyle ideas that fit your routine and comfort level best. Save a few photo references, then talk with your stylist about your hair density, scalp sensitivity, and how much manipulation you want day to day. With a few thoughtful adjustments, you can make your natural hairstyle feel protective, beautiful, and easy to wear every day.
FAQs
1. What is a low tension natural hairstyle?
A low tension natural hairstyle is a style that avoids tight pulling at the roots, edges, and scalp. It is designed to protect natural hair by reducing stress that can lead to breakage, thinning, or discomfort.
2. Are low tension hairstyles better for thinning edges?
They can be very helpful because they reduce repeated strain around the hairline. Softer styles, loose accessories, and less edge pulling are often better for supporting fragile edges.
3. Can I still wear protective styles if I want low tension?
Yes, definitely. Protective styles like twists, flat twists, puffs, and halo styles can all be done in a lower tension way if the roots are not pulled too tightly and the sections are handled gently.
4. How do I know if a style is too tight?
If your scalp feels sore, itchy, bumpy, or overly tender right away, the style is too tight. A healthy style should feel secure but still comfortable enough that you are not counting the hours until you take it down.
5. How often should I moisturize low tension natural styles?
That depends on your hair type and the style, but many people do well moisturizing lightly every few days. Focus especially on the ends and any exposed areas that dry out faster.
6. Can low tension hairstyles still look polished?
Yes, absolutely. Low tension does not mean messy. With good parting, moisture, soft shaping, and the right accessories, these styles can look very neat and elegant.
7. What accessories are best for low tension styling?
Soft satin scrunchies, puff cuffs, gentle bands, satin scarves, and comfortable pins are usually better choices than tight elastics or anything with rough seams. The goal is to hold the hair without pulling too hard.
8. Should I avoid edge control completely?
Not always, but it helps to use it lightly if your edges are fragile or your scalp is sensitive. You can still create a polished look without forcing the edges flat every day.